Moon Composite Techniques

One of the most rewarding things about photography is sharing a beautiful scene you’ve experienced with others. The challenge of sharing that moment through a photograph however, is getting your camera to capture it like you see it. Often what you see on the back of your camera does not look exactly like what you see with your own eyes.
A camera creates a photo based on an average of the light that hits the sensor from the lens/ aperture opening. Since the camera will create an exposure based on an average of the light it picks up in the scene, this means that if you have a high contrast scene with really dark and really bright areas, something is going to get lost in the translation. If the camera meters on the bright areas, the shadows may be too dark or if the camera meters on the shadow areas you could then end up blowing out the light areas (loosing detail in the bright areas).
Luckily we have editing programs in our tool box to give our cameras a little help. We can use techniques like creating multiple exposures that can then be post processed in an HDR program. This can work well for many high contrast scenes since you use 3 or more photos shot at different exposures for the light areas, the dark areas and areas in between.
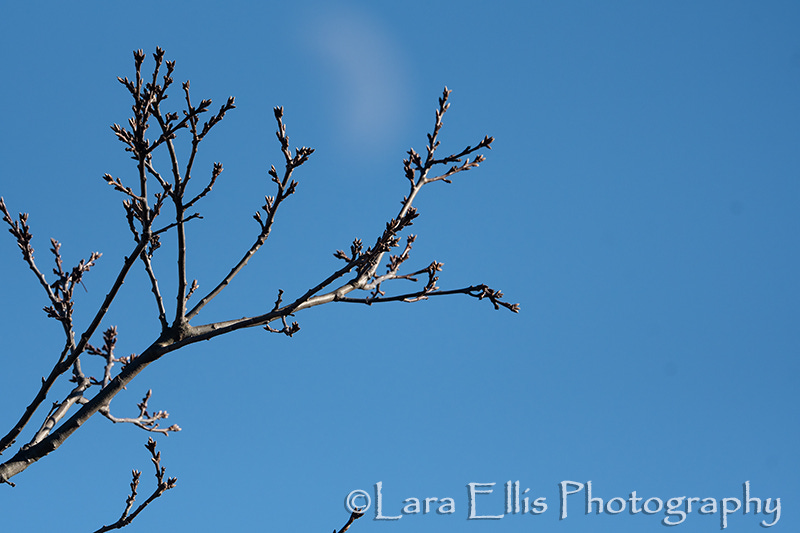
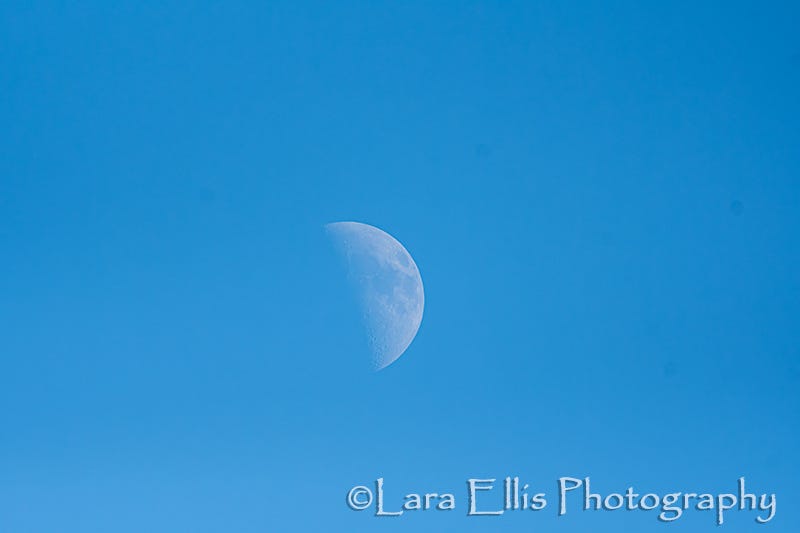
But one of the most challenging of scenes to re-create is a moon shot. Not only is it challenging to get the foreground and moon exposures right, but you can also have depth of field issues. Sometimes the camera won’t focus on both the moon and the foreground (especially if you are using a longer lens that tends to compress the depth of field).
One method that can work is to shoot two images (one of the moon and one of the foreground). The two images are then combined to make a composite in Photoshop using masking and layers but this can be tedious and if not done correctly you end up with a moon with funny edges that doesn’t look natural at all. I knew there had to be a more efficient and better way to do this than the usual mask and layer technique with all of the recent advances in photo editing programs.
After a little research online, I discovered another way to combine them that looked more natural and was also easier than the usual select and mask method. It’s called the “blend if” technique. I found the technique in a You Tube Video HERE by Adam Williams Creative.
The photos used in the video tutorial were more monotone/ sepia toned looking and worked a little better than mine did with the blue sky. Since my combined image was close but I still wasn’t quite satisfied with what I had, I converted the photo to black and white and this is what I ended up with as the final image.
Happy shooting and happy editing. Thanks for stopping by.

Prints and MERCH available HERE
Below are the two images used to create the composite above.